Showing posts with label cards. Show all posts

Tuesday, February 10, 2015

Valentine's

 I was at the library with my wee one and discovered this great Valentines book.
" Hearts, Cupids and Red Roses The story of Valentines symbols" 
by
Edna Barth

it contains
How St. Valentine's Day Came to Be
Valentines in the Old World
Valentines Cross the Atlantic
True-Love Tokens
Enter Cupid
Valentine Love Birds
Hearts and Sweethearts
Roses are Red
Valentine Lace
Red, Pink and White
Valentine Goodies
and Stories and Poems for Valentine's Day

I found this neat puzzle purse in the section on "Valentines Cross the Atlantic."
Puzzle purse valentines were a puzzle to read and to refold. Scattered among their many folds were verses that had to be read in a certain order. 


The Rose was sacred to the Roman Gods. They laid on couches spread with rose petals. Wore garlands of roses and crowns of roses.
Reclining on their beds of roses, they ate, drank, and gossiped. Anything said under the rose -the rose garland hung on the wall or the rose crowns on their heads- was sub rosa, and supposed to be kept secret. Meaning under the rose, this Latin expression became part of the english language. 
Here I found a sheet of roses for you.


Cupid, God of Love.
Cupid a symbol of passionate, tender, or playful love who's arrows were invisible, his targets the hearts of mortals or gods. The victim would fall hopelessly in love.
Here are some hears with Cupid in them.


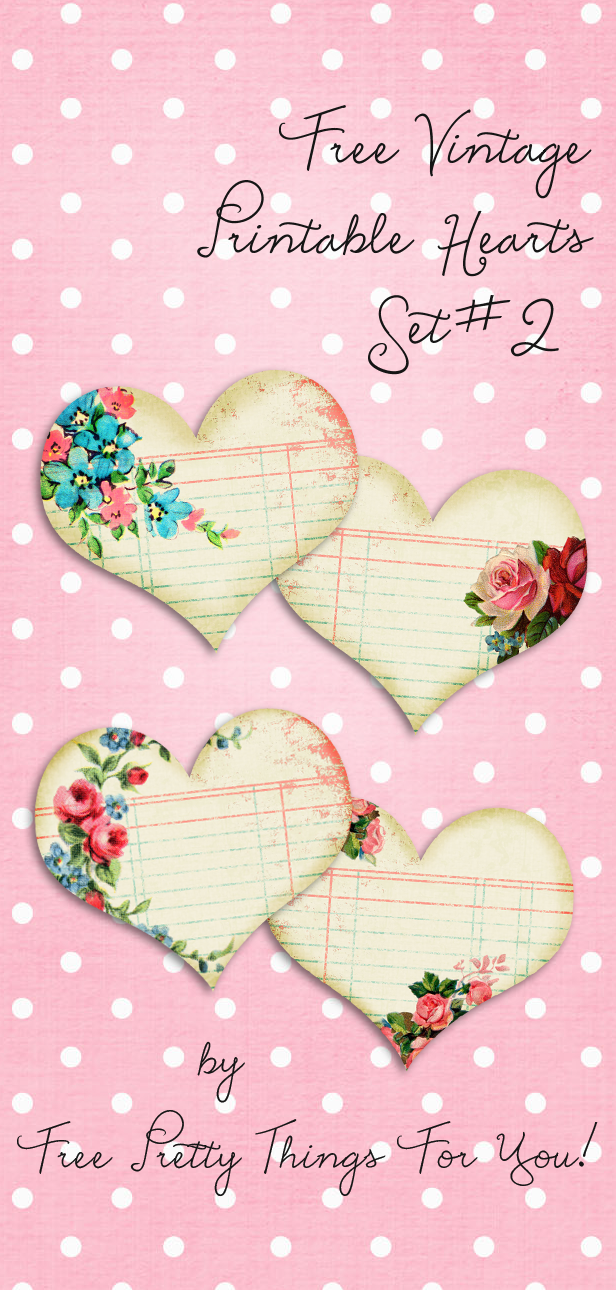
Hearts.
The most vital organ of living beings is believed to contain the soul. 


Did you know people of the Middle Ages thought that birds chose their mate on Valentine's Day?


Lace was something lovely to look at, soft, flattering and handmade, it was a popular trim for clothing. 

Paper lace was first made in England in 1834. One day by accident a file brushed over a sheet of paper embossed with a raised design. The high points of the paper were filed off, leaving tiny holes and a lace like effect.


 I love this picture of Margot Robbie. She looks like a Valentine. 


I enjoy making my own Valentine Cards. If you do too maybe you can use some of these free templates I found above. Happy creating!

Love, 
Chandra

Sunday, November 4, 2012

Artist Trading Cards Tutorial


Artist Trading Cards or better known as ATCs have been around for a while. I have only recently discovered them. They are great fun!

 I have made a tutorial for anyone out there wondering what ATCs are and how to make them. Artist Trading Cards are small 3 1/2 by 2 1/2 size cards. On one side you create a masterpiece and on the other you write your information like blog, email, web site, name and date. Grab your supplies and start creating!

Supplies

Card stock 
Scissors
Paper cutter
Glue stick
Pen's

Optional materials depending on what media you use

Paint
Decorative papers
Stamps
Glue gun
Cloth
Felt
Embroidery floss
Pictures
Magazine cutouts
Ribbon
Anything you want to use!


You can make the base card out of anything, card stock is what I use. But you can also use canvas, watercolor paper, an old playing card (covered in paper or gesso). There are even ones that are pre-made for all types of media. I have bought some of the pre- made ones. They are nice if you want to use a specific medium like watercolor, but card stock works fine.

So, let's get to the making. Start with the card stock. Measure out 2 1/2 along one side with a pencil mark, and 3 1/2 along the other side.

Card stock and ruler measuring 2 1/2 inches across.
 The next step is cutting the cards out. Here I use a paper cutter for straight lines. Of course you can use scissors as well but I tend to make crooked cuts so I use the cutter. 


There you have a nice card just the right size.


I like to round the edges with an edge cutter. I have tried cutting the edge myself, needless to say I can't make good edges with scissors. You can leave them square as well. 


Now the fun begins! Get your supplies. Here I have the scraps from another project I was working on they have paint stains. The large paper is for the back side. This is where you can get creative, make backgrounds with paint or paper, collage, whatever you like.


 I use a glue stick because it goes on smooth, doesn't wrinkle the paper and is quick drying. I made a frame with the scraps of paper.


Here I have glued a decorative paper on the back.


Cut the back paper off.


I stamped the back paper with a Made with love stamp. You can use any stamp that has lines or just write your info on the back.


I colored in the stamp with gel pens and added my info.


Now for the front. Here are my examples. In this one I colored inside the frame I made of papers.


Here I had drawn a picture on another paper and cut it up, glued and done!


A different stamp with lines to write in your info.


Here is the stack of the ones I made that day. 


Now it's time to trade them! Find a local group in your area, a mail group or make a group yourself. 

Every Friday at The Cozy Craft Corner from 3:30 to 5:30 we have an Artist Trading Card class and swap. It is so fun! I love making small pieces of art. It's tiny and manageable. We usually end up making about four each class and trade them. 
I have also started a group of women from my Flying Lessons class with Kelly Rae Roberts to do ATC's in the mail. This has been very successful so far and great fun! 

I hope you now have a better understanding about how to make Artist Trading Cards. Enjoy :)


Here are some sites that give you ideas and themes;
Here is an interesting idea Tea Bag ATCs
Here is one that has supplies.
Here are some books on ATC's
I have this on in my shop Artist Trading Card Workshop


Have a wonderful day,
Chandra


Friday, February 10, 2012

Valentines Day Cards are so fun!

Valentines Day is quickly approaching so we must get on to making them! I have pulled together papers, ribbon, stickers, cards, card stock, envelopes, pens, doilies, heart punch, and fairy pictures for this years Valentines. First I saw this idea to make rings out of chocolate kisses and pipe cleaners. We tried this and it was so hard to wrap the pipe cleaners around the kiss. Eve struggled with it for a minute and said it is too hard. I tired it too and it was very hard after the 10th one or so I got a hang of it. I made them for her class and a huge one for her teacher. She loves chocolate!


So as I got ready to make the cards my daughter had another idea. She is going to teach a Valentine card craft class to all the children but actually it was only me. So she gets out her white board and red pen to write down all the things we are going to do. She had me making Valentines for her friends. She made some too. They had to say happy Valentines Day for the girls and for the boys Have a pumped up Valentines Day.


Then I made some of my own. It was great fun! To top all this off we had planned to make cupcakes for her schools dance as well. She was excited and made it into a cooking class. She put on her apron and went to work. Mixing the batter. It was a box cake because it was for the school. So easy peasy. She mixed the white cake and after pouring into the heart shaped cups, I squeezed the chocolate filling in the middle. She topped them off with more batter.
After all we turned out to have a great time and came up with some great cards.

Happy Valentines Day!